
Tạo nút bấm trên thanh công cụ để gửi Email một Sheet trong Excel
Đầu tiên mở Excel , ví dụ này thực hiện với Excel 2007 , bấm tổ hợp phím Alt-F11 để vào cửa sổ Microsoft Visual Basic .
Bấm menu Insert > Module , sao lưu nội dung bên dưới vào
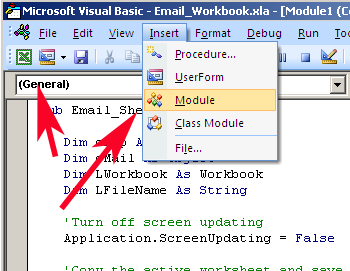
Sub Email_Sheet()
Dim oApp As Object
Dim oMail As Object
Dim LWorkbook As Workbook
Dim LFileName As String
’Turn off screen updating
Application.ScreenUpdating = False
’Copy the active worksheet and save to a temporary workbook
ActiveSheet.Copy
Set LWorkbook = ActiveWorkbook
’Create a temporary file in your current directory that uses the name
’ of the sheet as the filename
LFileName = LWorkbook.Worksheets(1).Name
On Error Resume Next
’Delete the file if it already exists
Kill LFileName
On Error GoTo 0
’Save temporary file
LWorkbook.SaveAs FileName:=LFileName
’Create an Outlook object and new mail message
Set oApp = CreateObject(\"Outlook.Application\")
Set oMail = oApp.CreateItem(0)
’Set mail attributes (uncomment lines to enter attributes)
’ In this example, only the attachment is being added to the mail message
With oMail
’.To = \"user@yahoo.com\"
’.Subject = \"Subject\"
’.body = \"This is the body of the message.\" & vbCrLf & vbCrLf & _
’\"Attached is the file\"
.Attachments.Add LWorkbook.FullName
.Display
End With
’Delete the temporary file and close temporary Workbook
LWorkbook.ChangeFileAccess Mode:=xlReadOnly
Kill LWorkbook.FullName
LWorkbook.Close SaveChanges:=False
’Turn back on screen updating
Application.ScreenUpdating = True
Set oMail = Nothing
Set oApp = Nothing
End Sub
Bấm nút của biểu tượng Excel trong Microsoft Visual Basic để quay trở lại Excel .
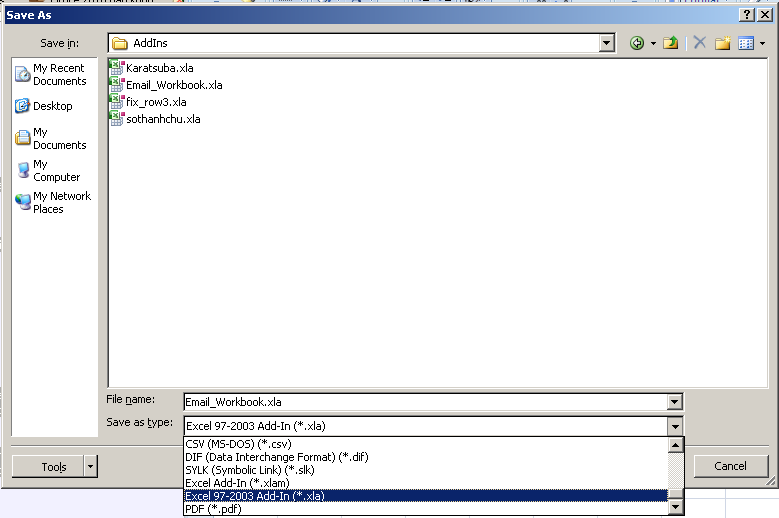
Bấm nút Office Button > Save As > Excel Workbook
Trong mục Save as type bạn chọn Excel 97-2003 Add-In (*.xla) hoặc Excel Add-In (*.xlam) .
Phần File name bạn đặt tên file , trong ví dụ này có tên là Email_Workbook.xla.
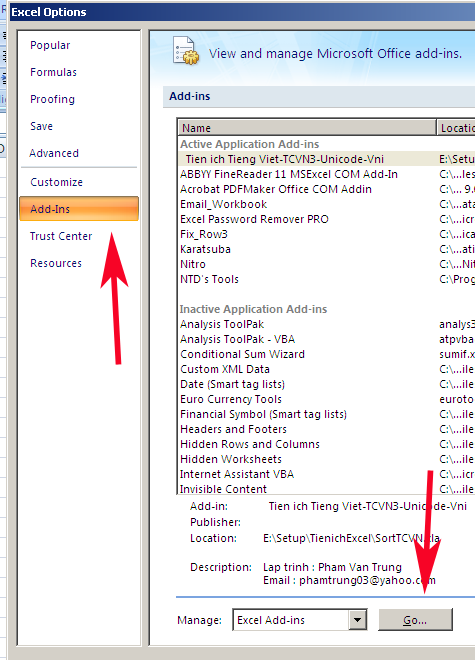
Sau khi lưu file Email_Workbook.xla m bấm nút Office Button > Excel Options > Add-Ins > Go
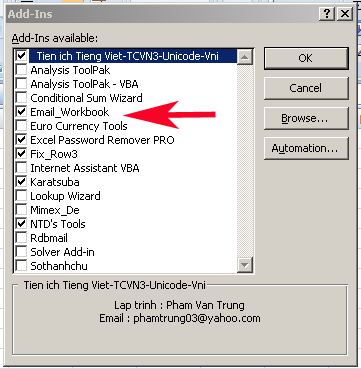
Bạn đánh dấu tích vào Email_Workbook , rồi bấm OK
Bấm nút tùy biến trên thanh Quick Access Toolbar , chọn More Commands
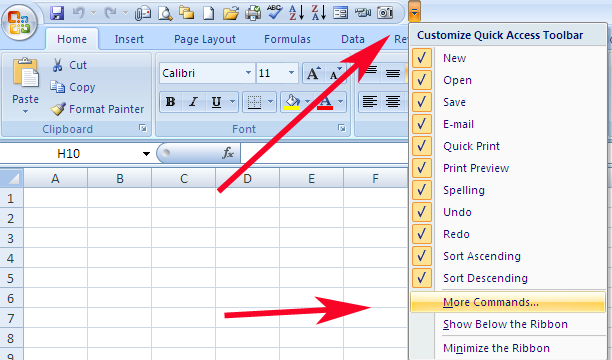
Trong mục Choose commands from , chọn Macro , khi ấy bạn sẽ thấy Email_Sheet , bấm nút Add
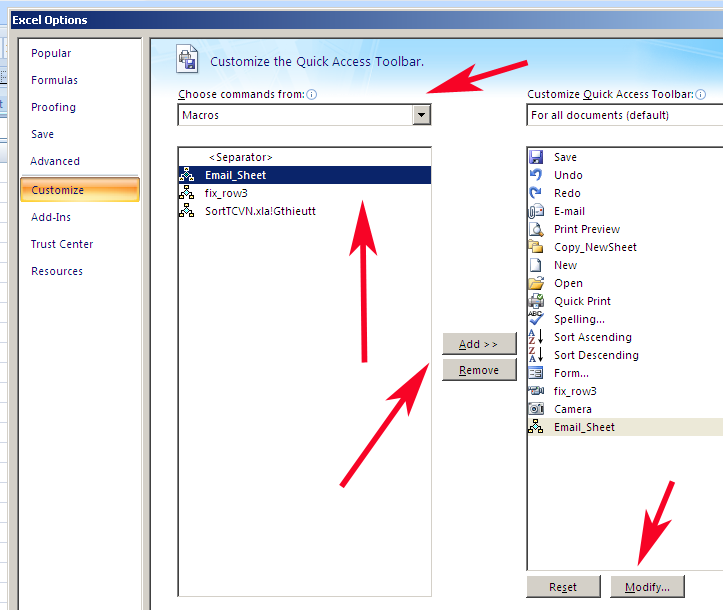
Bạn có thể thay đổi biểu tượng của nó bằng cách bấm nút Modify
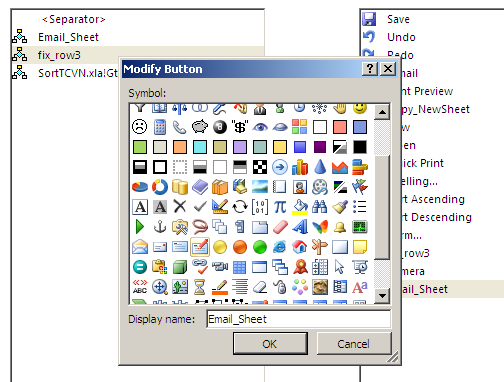
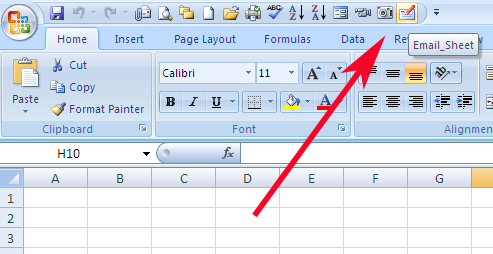
Chọn biểu tượng ưng ý , bấm nút OK , khi đó trên thanh Quick Access Toolbar bạn sẽ thấy biểu tượng của Email_Worksheet